RX3 Lowering Kit Installation
We had a request late last week from one of our riders who recently purchased our RX3 lowering kit. Gerry walked me through the installation on Saturday and as I was preparing to write about it last night, I noticed that our good buddy Rob (who rode with us on the Western America Adventure Tour) had already posted a tutorial on the same topic over on the ChinaRiders.net forum. Rob did a great job (I’m a little jealous)! I thought it might make sense to post our tutorial on the same topic anyway, as seeing how this is done from a couple of folks’ perspectives might make it easier for all of you who want to install the lowering kit.
So, the first step in this process is to get the rear wheel off the ground. We do the installation on a lift, as the bike is easier to work on when it is up on the air. You don’t need a lift to do the job, but you do need to get the rear wheel off the ground.
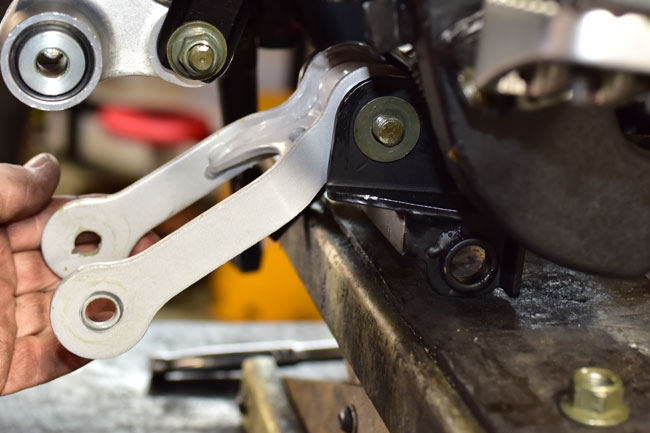
After you have removed the suspension link, we advise reversing the hose clip on the rear brake’s rear hose attach point on the swingarm (there are two hose clamps and two attach points; we are describing the rear one). Remove the Allen bolt securing the clamp, rotate the clip 180 degrees (you don’t have to take it off the hose), and then reattach it so that the rear brake’s hydraulic line runs along the inside of the swingarm as you see in the photo below. We do this to assure clearance between the hose and the rear brake caliper when the rear suspension is fully compressed. We’ve checked this interface with the hose clamp in the original position and it clears the caliper; routing the hose as we show here adds additional clearance just to make sure these two items never come into contact with each other.
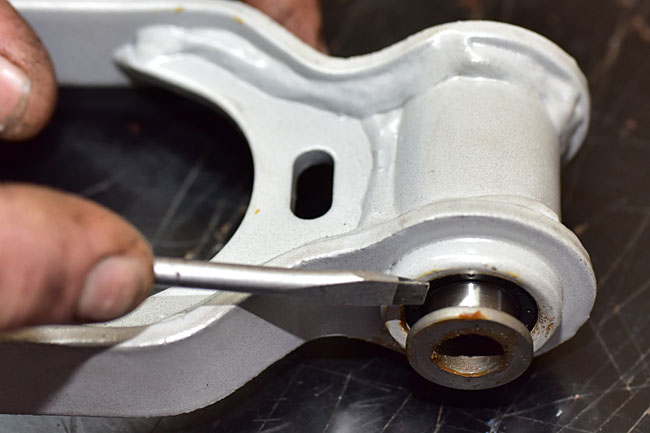
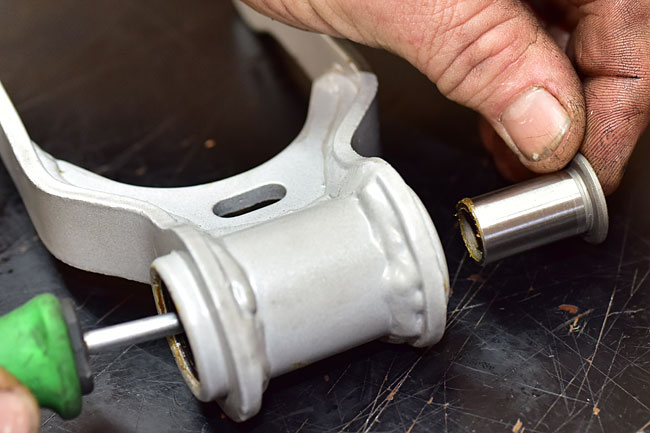
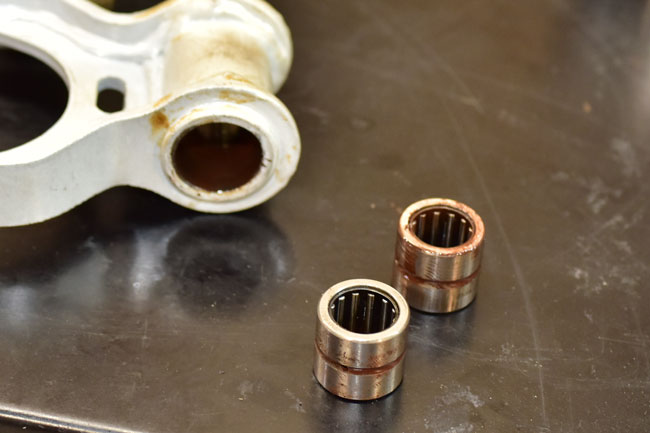
You can also use a press to drive the bearings out, but most folks won’t have a press in their garage. We show you how to do it with a hammer and a couple of sockets for that reason.
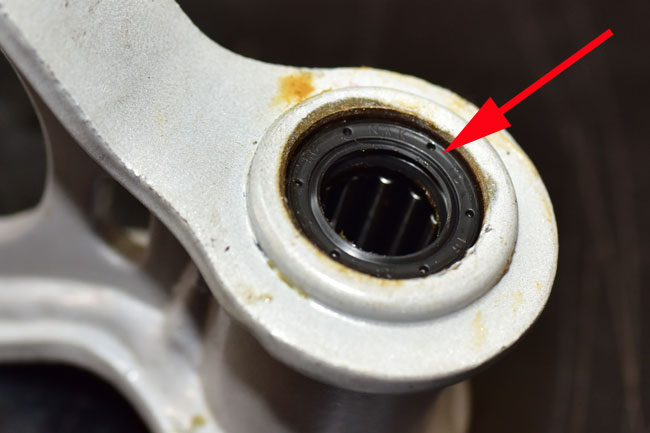
Once the bearings are out, we recommend cleaning them thoroughly and then repacking them with bearing grease. We clean these parts in our solvent sink.
Tighten the rear suspension link bolts, and get out for a ride!
Most of the people who do this installation don’t do anything to the front suspension, but if you want to, you can lower the front of the bike, too. To do this, you can loosen the front forks in their upper and lower and triple tees, and move the forks up a bit. You can’t go too far in the front or you’ll hit the handlebars. If you want to lower the front end, please see our tutorial on fork maintenance for how to move the forks in the upper and lower triple tees.
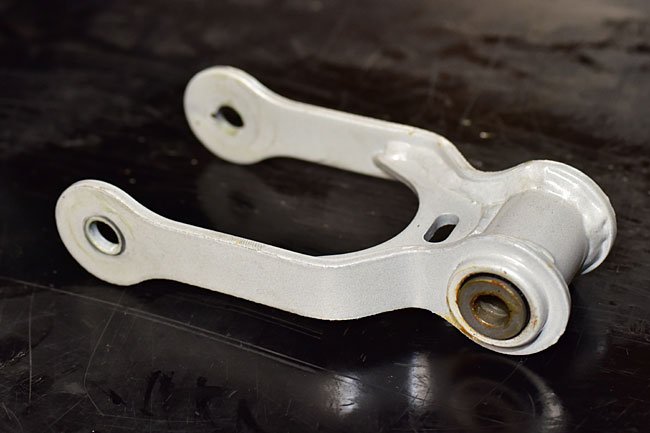
And folks, that’s about it. If you don’t want to remove and reinstall the rear suspension link bearings, we can sell you a link that already has the bearings installed (just make sure you tell us that’s what you want when you order the lowering link).
RX3 Lowering Kit Installation
RX3 Lowering Kit Installation