RX3 Heated Grips Installation
This maintenance tutorial addresses installing heated grips on your RX3 motorcycle. This is a pretty nifty accessory, and we are pleased to be offering them for the RX3.
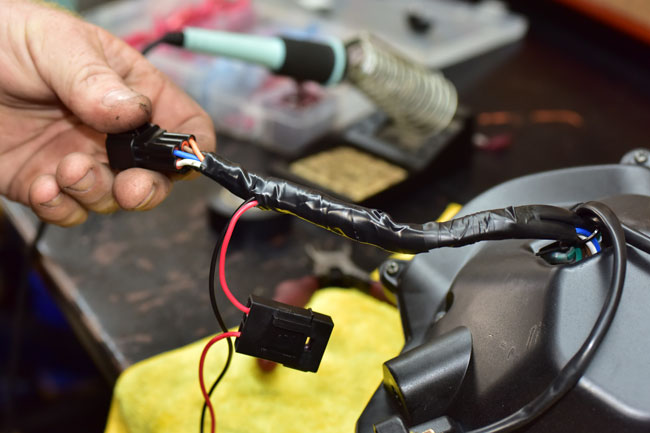
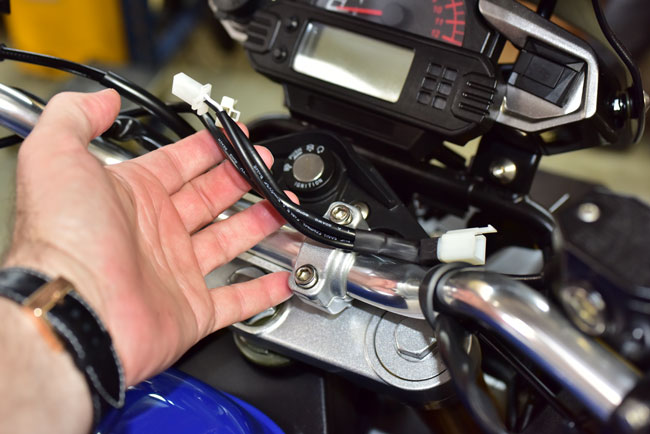
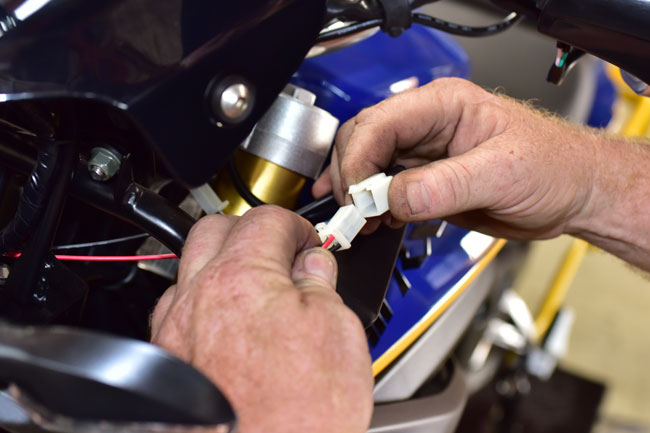
We believe the best place to electrically tap in to the RX3’s electrical system for your heated grips is the harness that runs to the headlight. We’re going to show you how to do this so that when you turn the ignition off, power is cut to the heated grips. If you tap in to the RX3 electrical system elsewhere, you run the risk of leaving your heated grips on after you have turned off the motorcycle, which will rapidly run down the battery.
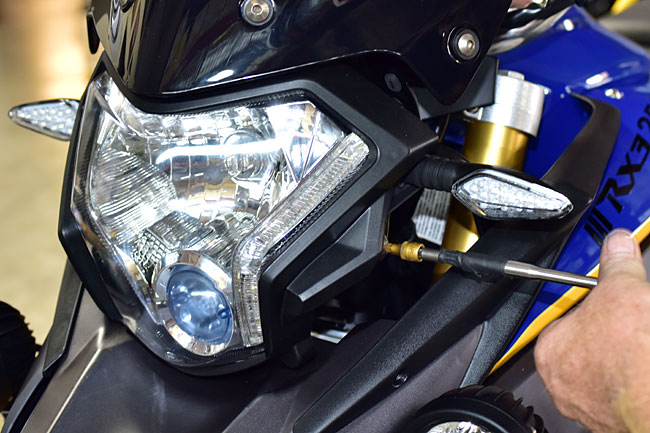
The first step is to remove the headlight be removing the two 6mm Allen bolts that secure it to the motorcycle.
Before you install the left heated grip on the handlebar, note that the harness exits the heated grip. You’ll want to orient the heated grip so that after installation, the harness points down and a little forward.
Lube the inside of the left heated grip and install it on the handlebar.
After the motorcycle is put back together, you’re almost ready to ride. Before you do so, check the left-to-right travel of the handlebars to make sure your harness installation and tiedown does not restrict the motorcycle’s steering.
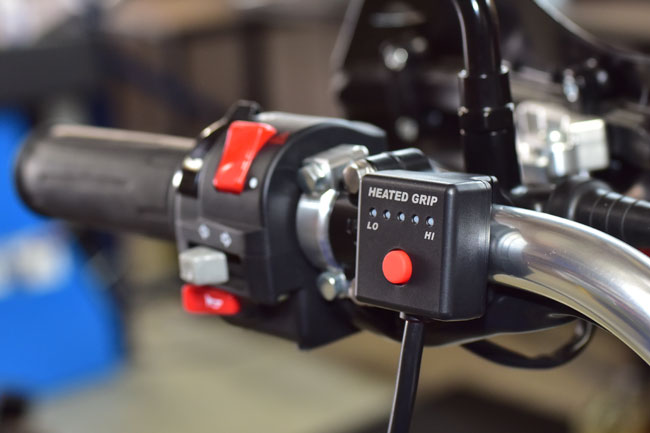
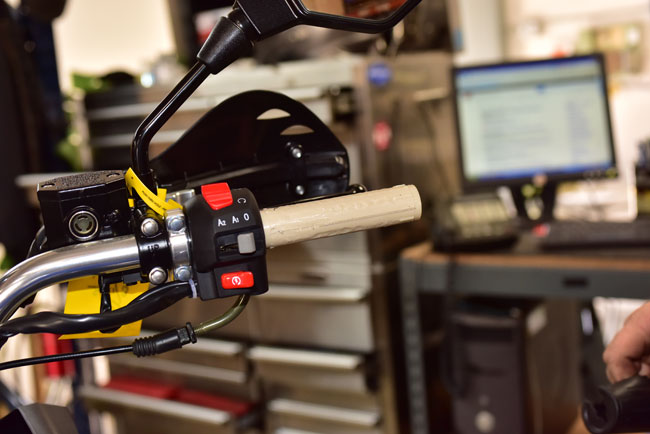
The heated grip switch provides for five heating levels. These are accessed by repeatedly pressing the heated grip switch.
RX3 Heated Grips Installation
Heated Grips Installation